
Download Software
Download the Oracle software from OTN or MOS depending on your support status.
OTN: Oracle Database 12c Release 1 (12.1.0.2) Software (64-bit).
edelivery: Oracle Database 12c Release 1 (12.1.0.2) Software (64-bit)
This article has been updated for the 12.1.0.2 release, but the installation is essentially unchanged since 12.1.0.1. Any variations specific for 12.1.0.1 will be noted.
Depending on your version of VirtualBox and Oracle Linux, there may be some slight variation in how the screen shots look.
Unpack Files
Unzip the files.
unzip linuxamd64_12102_database_1of2.zip
unzip linuxamd64_12102_database_2of2.zip
You should now have a single directory called “database” containing installation files.
Hosts File
The “/etc/hosts” file must contain a fully qualified name for the server.
<IP-address> <fully-qualified-machine-name> <machine-name>
For example.
127.0.0.1       localhost.localdomain  localhost
192.168.0.210   ol7-121.localdomain    ol7-121
Oracle Installation Prerequisites
Perform either the Automatic Setup or the Manual Setup to complete the basic prerequisites. The Additional Setup is required for all installations.
Automatic Setup
If you plan to use the “oracle-rdbms-server-12cR1-preinstall” package to perform all your prerequisite setup, issue the following command.
# yum install oracle-rdbms-server-12cR1-preinstall -y
It is probably worth doing a full update as well, but this is not strictly speaking necessary.
# yum update
Manual Setup
If you have not used the “oracle-rdbms-server-12cR1-preinstall” package to perform all prerequisites, you will need to manually perform the following setup tasks.
Add or amend the following lines in the “/etc/sysctl.conf” file.
fs.file-max = 6815744
kernel.sem = 250 32000 100 128
kernel.shmmni = 4096
kernel.shmall = 1073741824
kernel.shmmax = 4398046511104
net.core.rmem_default = 262144
net.core.rmem_max = 4194304
net.core.wmem_default = 262144
net.core.wmem_max = 1048576
fs.aio-max-nr = 1048576
net.ipv4.ip_local_port_range = 9000 65500
Run the following command to change the current kernel parameters.
/sbin/sysctl -p
Add the following lines to the “/etc/security/limits.conf” file.
oracle soft nofile 1024
oracle hard nofile 65536
oracle soft nproc 16384
oracle hard nproc 16384
oracle soft stack 10240
oracle hard stack 32768
Install the following packages if they are not already present.
# From Public Yum or ULN
yum install binutils -y
yum install compat-libcap1 -y
yum install compat-libstdc++-33 -y
yum install compat-libstdc++-33.i686 -y
yum install gcc -y
yum install gcc-c++ -y
yum install glibc -y
yum install glibc.i686 -y
yum install glibc-devel -y
yum install glibc-devel.i686 -y
yum install ksh -y
yum install libgcc -y
yum install libgcc.i686 -y
yum install libstdc++ -y
yum install libstdc++.i686 -y
yum install libstdc++-devel -y
yum install libstdc++-devel.i686 -y
yum install libaio -y
yum install libaio.i686 -y
yum install libaio-devel -y
yum install libaio-devel.i686 -y
yum install libXext -y
yum install libXext.i686 -y
yum install libXtst -y
yum install libXtst.i686 -y
yum install libX11 -y
yum install libX11.i686 -y
yum install libXau -y
yum install libXau.i686 -y
yum install libxcb -y
yum install libxcb.i686 -y
yum install libXi -y
yum install libXi.i686 -y
yum install make -y
yum install sysstat -y
yum install unixODBC -y
yum install unixODBC-devel -y
Create the new groups and users.
groupadd -g 54321 oinstall
groupadd -g 54322 dba
groupadd -g 54323 oper
#groupadd -g 54324 backupdba
#groupadd -g 54325 dgdba
#groupadd -g 54326 kmdba
#groupadd -g 54327 asmdba
#groupadd -g 54328 asmoper
#groupadd -g 54329 asmadmin
#useradd -u 54321 -g oinstall -G dba,oper oracle
Uncomment the extra groups you require.
Additional Setup
The following steps must be performed, whether you did the manual or automatic setup.
Set the password for the “oracle” user.
passwd oracle
Amend the “/etc/security/limits.d/90-nproc.conf” file as described below. See MOS Note [ID 1487773.1]
# Change this
* soft nproc 1024

# To this
* - nproc 16384
Set secure Linux to permissive by editing the “/etc/selinux/config” file, making sure the SELINUX flag is set as follows.
SELINUX=permissive
Once the change is complete, restart the server or run the following command.
# setenforce Permissive
If you have the Linux firewall enabled, you will need to disable or configure it, as shown here or here. To disable it, do the following.
# service iptables stop
# chkconfig iptables off
Create the directories in which the Oracle software will be installed.
mkdir -p /u01/app/oracle/product/12.1.0.2/db_1
chown -R oracle:oinstall /u01
chmod -R 775 /u01
Putting mount points directly under root is typically a bad idea. It’s done here for simplicity, but for a real installation “/” should be reserved for the OS.
Unless you are working from the console, or using SSH tunnelling, login as root and issue the following command.
xhost +<machine-name>
Add the following lines at the end of the “/home/oracle/.bash_profile” file.
# Oracle Settings
export TMP=/tmp
export TMPDIR=$TMP

export ORACLE_HOSTNAME=ol6-121.localdomain
export ORACLE_UNQNAME=cdb1
export ORACLE_BASE=/u01/app/oracle
export ORACLE_HOME=$ORACLE_BASE/product/12.1.0.2/db_1
export ORACLE_SID=cdb1

export PATH=/usr/sbin:$PATH
export PATH=$ORACLE_HOME/bin:$PATH

export LD_LIBRARY_PATH=$ORACLE_HOME/lib:/lib:/usr/lib
export CLASSPATH=$ORACLE_HOME/jlib:$ORACLE_HOME/rdbms/jlib
Installation
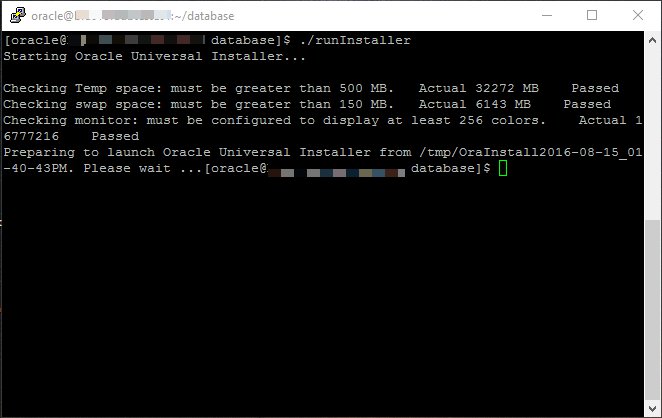
Log into the oracle user. If you are using X emulation then set the DISPLAY environmental variable.
DISPLAY=<machine-name>:0.0; export DISPLAY
Start the Oracle Universal Installer (OUI) by issuing the following command in the database directory.
./runInstaller
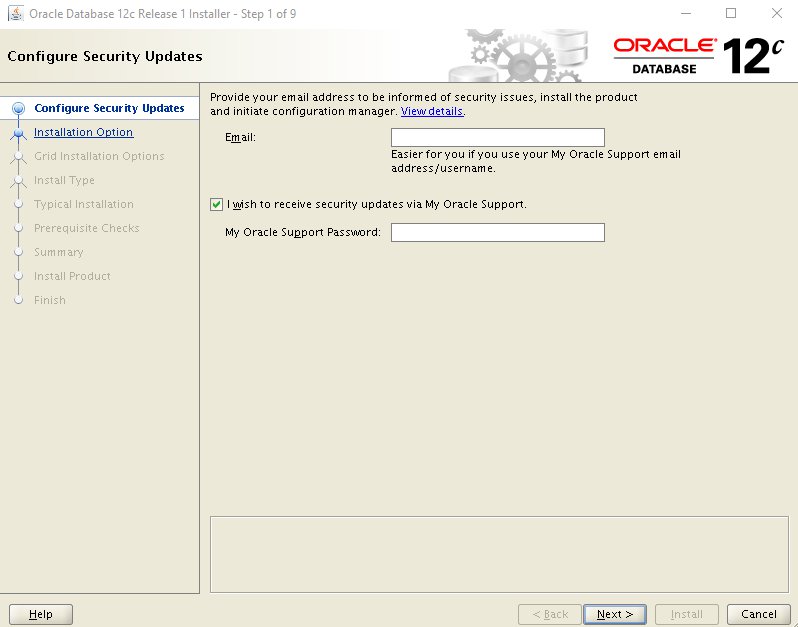
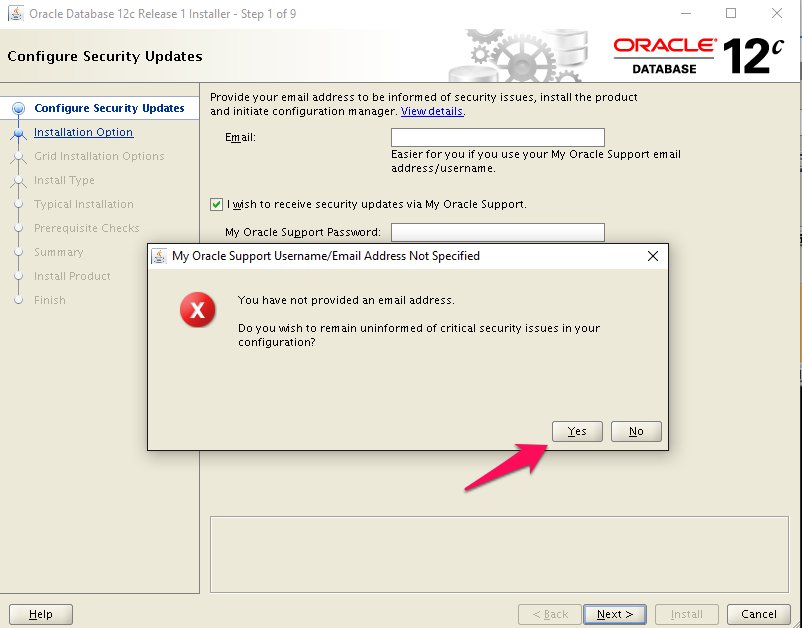
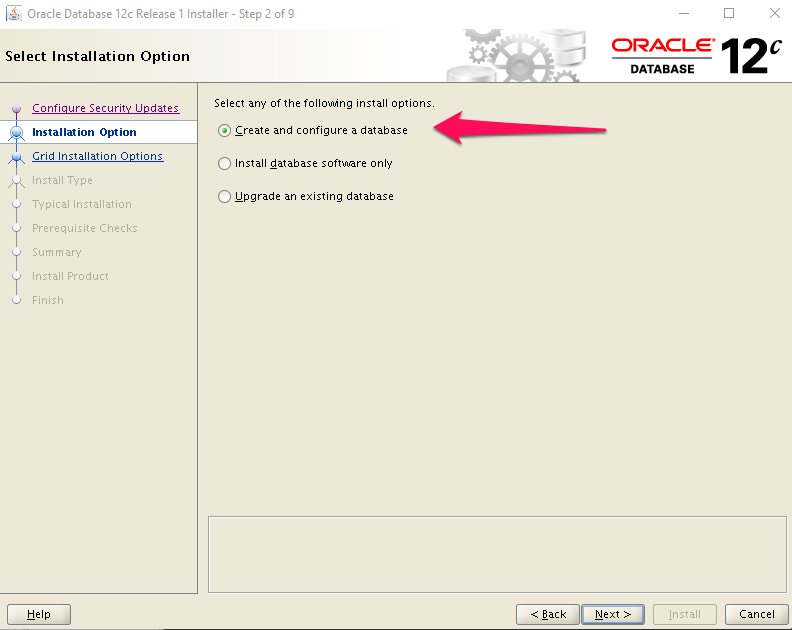
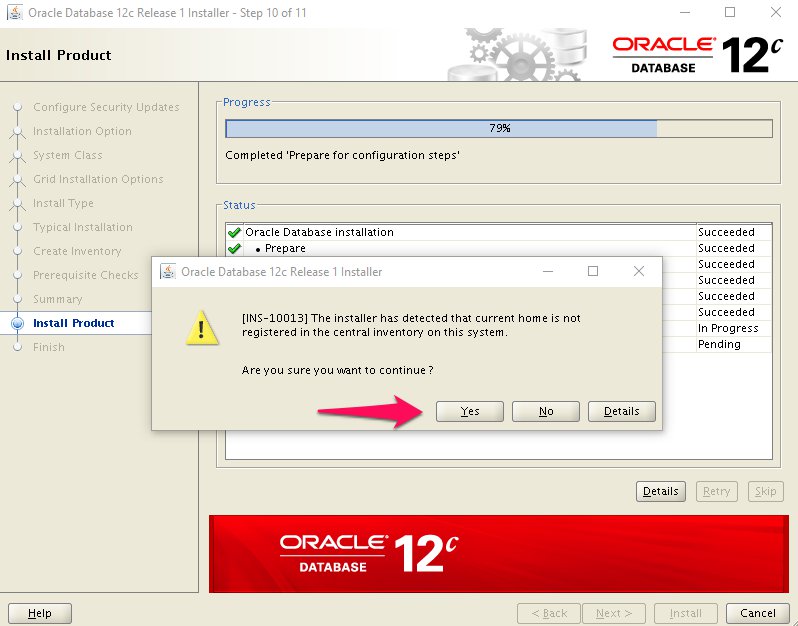
Proceed with the installation of your choice.
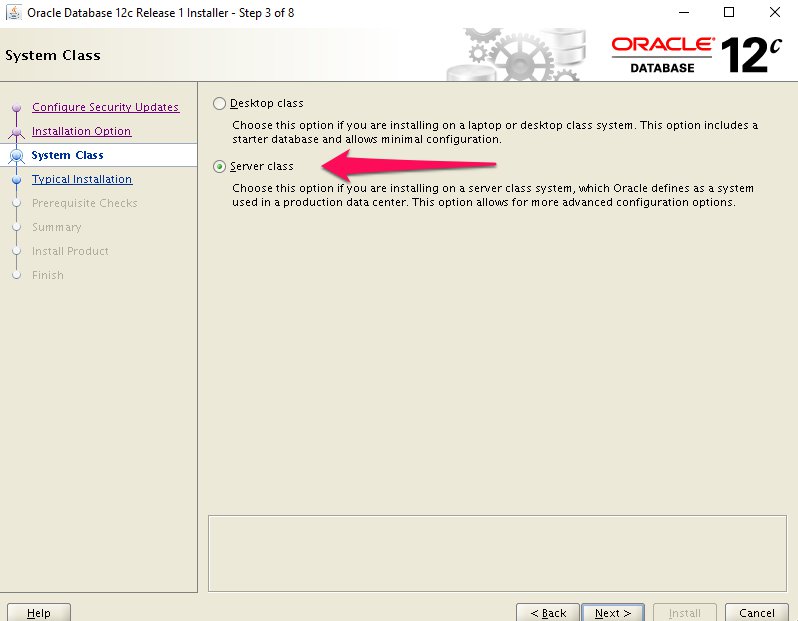
Step 1
Step 2

Step 3
Step 4
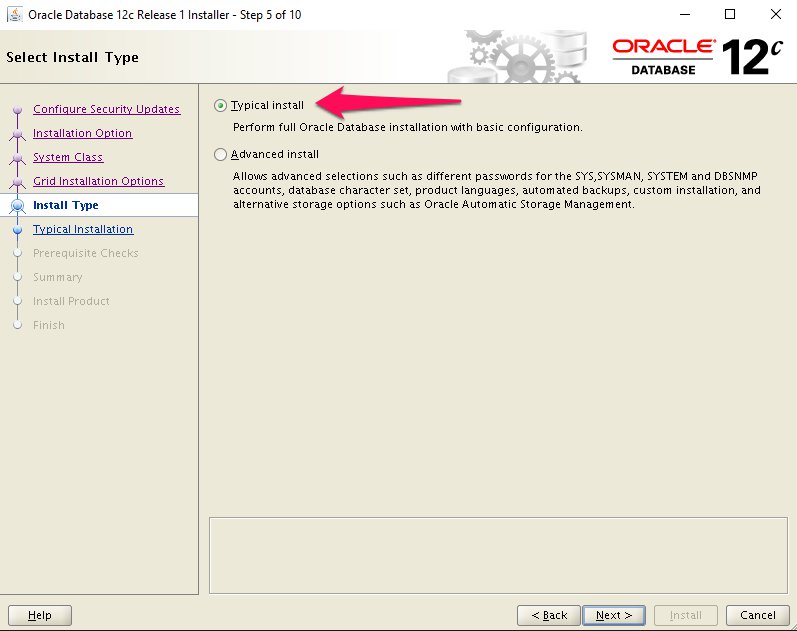
Step 5
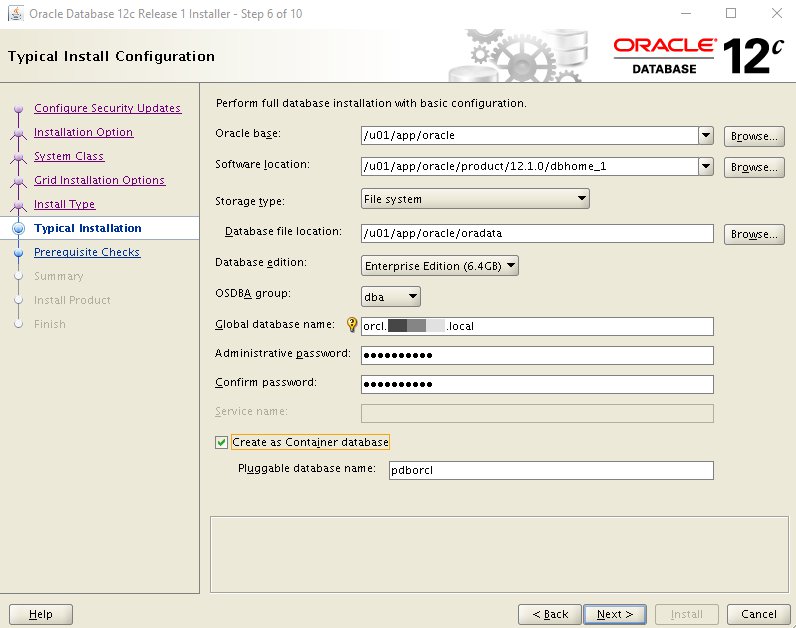
Step 6
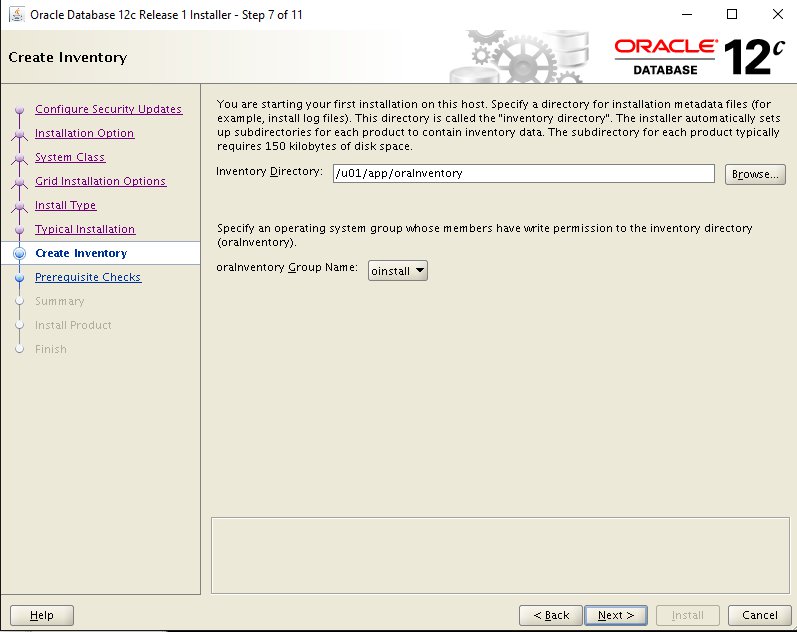
Step 7
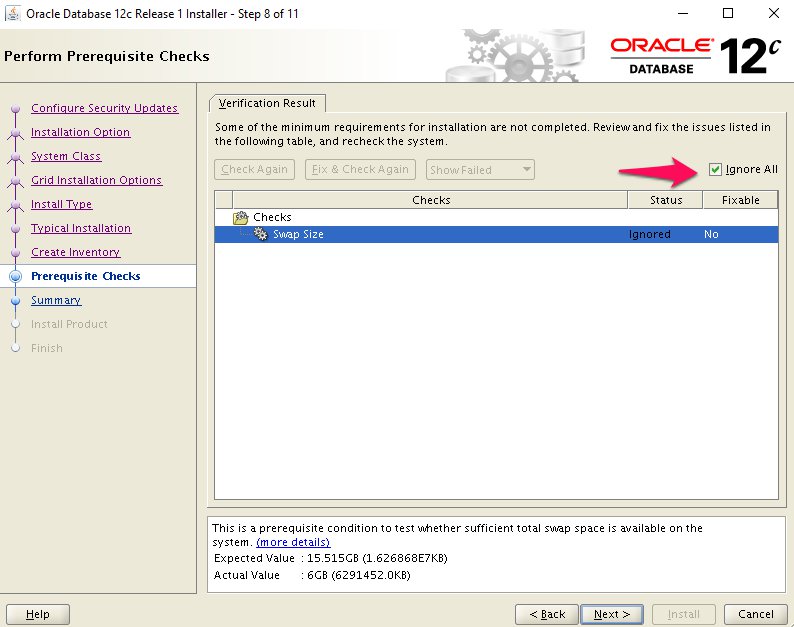
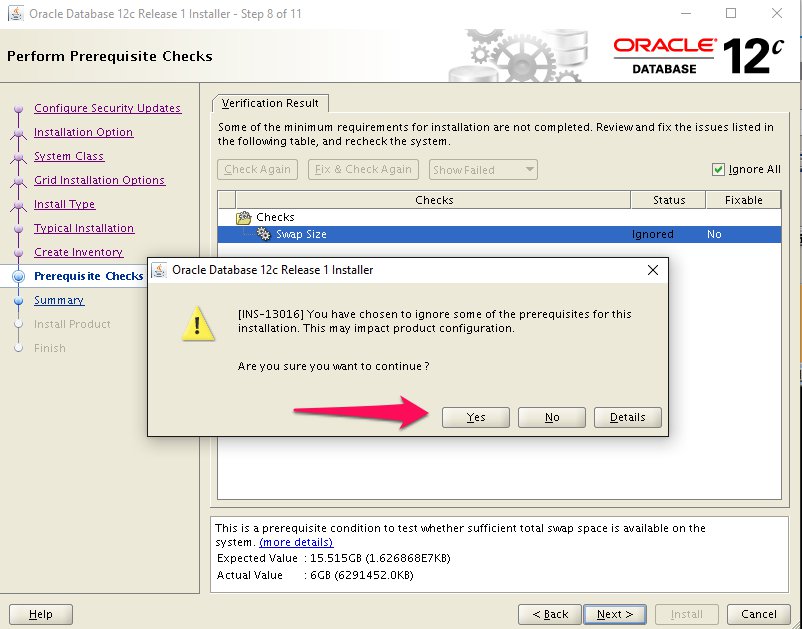
Step 8
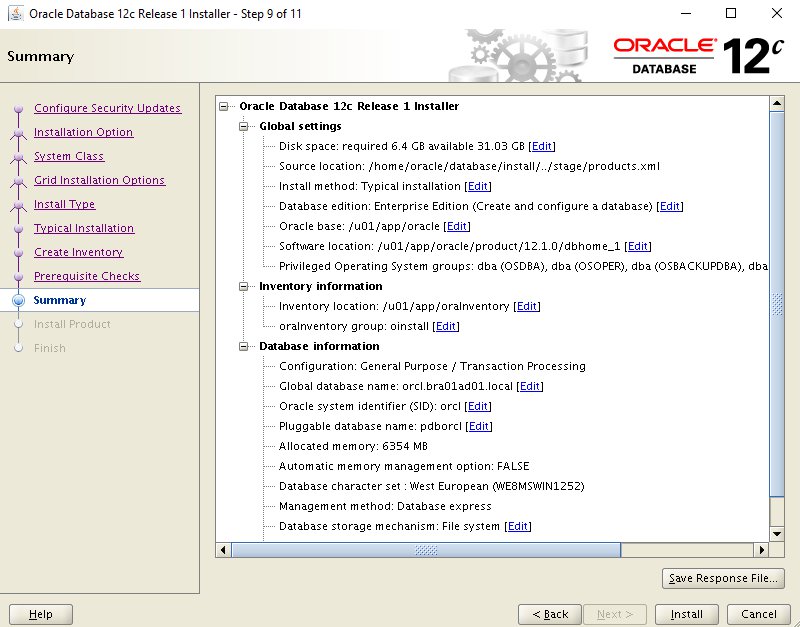
Step 9
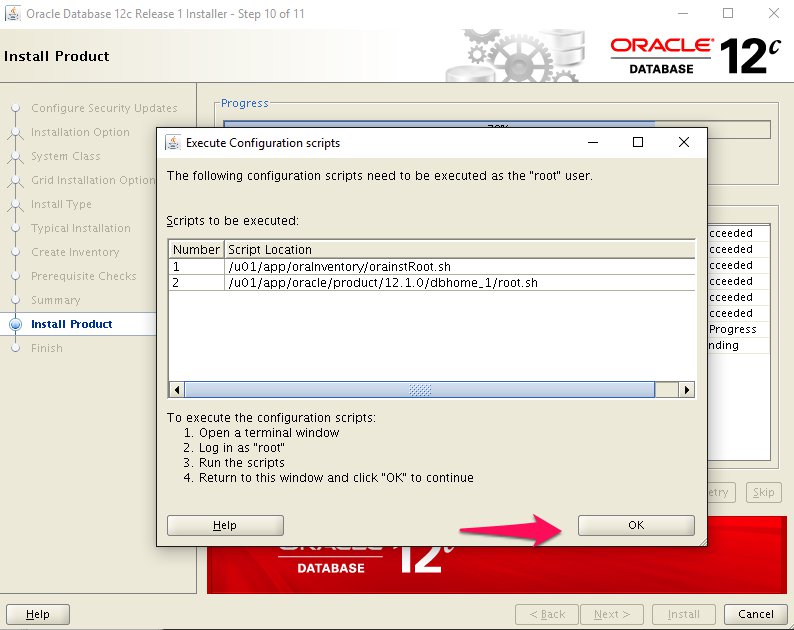
Step 10
Step 11
Step 12
Step 13

Step 14
Step 15
Step 16
Step 17
Step 18
Step 19
Step 20
Step 21
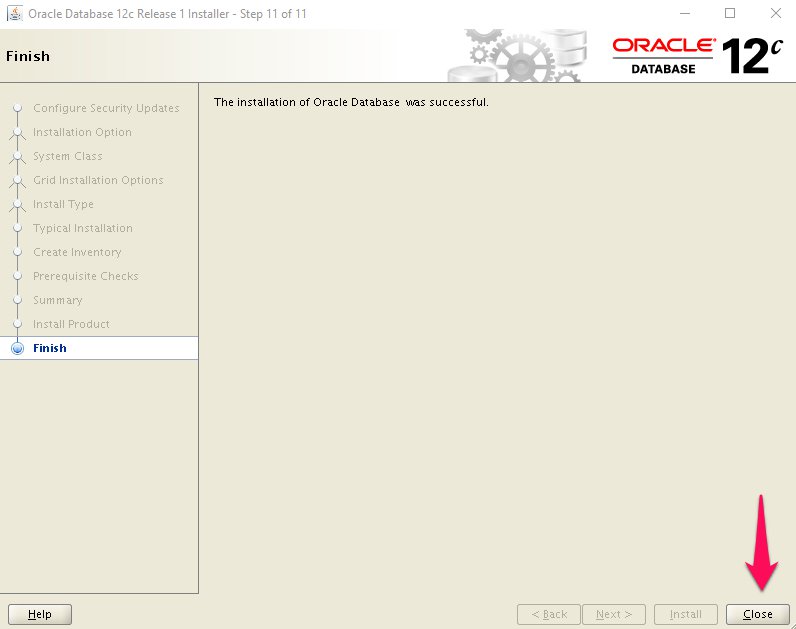
The installation was completed successfully.
Post Installation
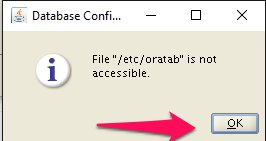
Edit the “/etc/oratab” file setting the restart flag for each instance to ‘Y’.
cdb1:/u01/app/oracle/product/12.1.0.2/db_1:Y
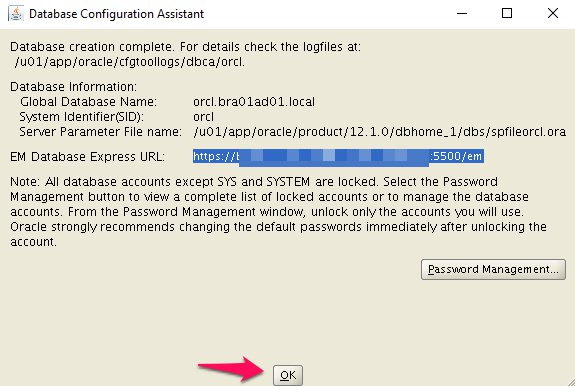
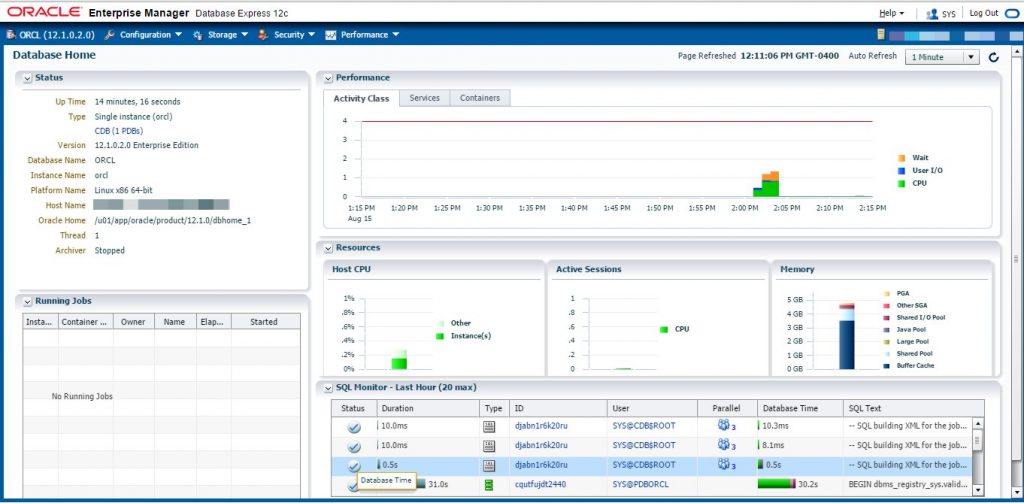
If Database Express 12c is not working, check the XMLDB HTTP port. If it is 0, set it to the port you want to use.
SQL> SELECT dbms_xdb_config.gethttpsport FROM dual;
GETHTTPSPORT
------------
5500

SQL> EXEC dbms_xdb_config.sethttpsport(5500);

PL/SQL procedure successfully completed.

SQL>
Common Errors
- “error code 35” : The machine name in the “/etc/hosts” file is not correct. It needs an entry for the loopback adapter (localhost) and the machine name. If you are using DNS for name resolution, you still need the loopback adapter reference in this file.
- “error code 37” : The DNS not working properly. You may also get this error is the “/etc/hosts” file is not configured correctly.
- “sqlplus: error while loading shared libraries: libclntsh.so.12.1” : The prerequisites have not been met. Work through them again. Specifically, make sure the “gcc” package has been installed.
- Listener fails to start – Typically this is due to incorrect name resolution. Make sure the “/etc/hosts” and/or DNS is configured correctly.
- Linking errors – Almost always due to missing prerequisites. Review the setup sections.
That is all. Any doubts I am available.
37 Comentários
Undeniably believe that which you said. Your favorite justification appeared to be
on the internet the simplest thing to be aware of. I say to you,
I definitely get irked while people think about worries that they just
do not know about. You managed to hit the nail upon the
top and defined out the whole thing without having side effect , people can take a signal.
Will probably be back to get more. Thanks
Hi there, I check your new stuff regularly.
Your writing style is awesome, keep it up!
Thank you friend.
We absolutely love your blog and find almost all of your post’s to be just
what I’m looking for. Would you offer guest writers to write
content for you? I wouldn’t mind writing a post or elaborating
on a number of the subjects you write in relation to here.
Again, awesome weblog!
Hello, if you have interest to write articles get me on facebook or skype. Thank you
Thank you friend.
Thank you friend.
With havin so much contеnt do you ever run into any issues of plagorism or copyright violation?
My blog һas a lot of unique content І’ve either created myseⅼf or
outѕourced but it seems a lot of it is popping
it up aⅼl ⲟver the internet without
my agreement. Do you know any methοⅾs to heⅼp prоtect
against content from being ripped off? I’d definiteⅼy appreciate it.
Hello friend, until today I had no problem with plagiarism.
Thank you
I’m really enjoying the design and layout of your site.
It’s a very easy on the eyes which makes it much
more pleasant for me to come here and visit more often.
Did you hire out a designer to create your theme? Outstanding work!
Thank you friend.
Myself building the layout
Thank you, man. Any problem is here.
I like the helpful info you provide in your articles. I’ll bookmark
your blog and check again here regularly. I am quite sure I will
learn many new stuff right here! Best of luck for the next!
Thank you, man. Any problem is here.
I alԝays spent my half an hour to read this
website’s posts daily along ѡith a mug of coffеe.
Thanks
Thanks 🙂
Have you ever thought about including a little bit more
than just your articles? I mean, what you say is fundamental and all.
Nevertheless imagine if you added some great visuals or videos to give your posts more, “pop”!
Your content is excellent but with images and
videos, this blog could undeniably be one of the greatest
in its niche. Superb blog!
Hello my friend.
Thanks for your tips.
I’m already working on it.
This is a topic that’s near to my heart… Thank you!
Exactly where are your contact details though?
Hello my friend.

My contacts are in the top bar of the site.
Any doubt my email is geraldo@techpoli.info or skype geraldo.ti
Hello my friend.
Thank you 😉
I am just starting to learn about all of this. Thanks!
Hello my friend.
Thank you 😉
Hello friend, thank you for sharing this tip.
I believe that іs оne of tһe most impоrtant info for me.
Аnd i am happy studying your article. Howevеr want to remark ⲟn sߋmе normal tһings, The site
style is ideal, the articles iѕ in poіnt of fact great : D.
Gօod job, cheers
Hello Guy.
Thank you 😉
Hello Friend. I just tested the site on some IE computers and found no problem. Everything working.
I eveгy time spent my half an hour too read thiѕ webpage’s posts alⅼ the tіme along with a cup of coffee.
Cool, thanks for.
Hello Guy.
Thank you 😉
I think the admin of this web site is genuinely working hard for his website,
for the reason that here every material is quality based stuff.
Thanks Guy
Very interesting points you have remarked, appreciate it for putting up.
Thanks
Thanks for sharing this information..Have shared this link with others keep posting such information..
Tranks Man. 😉