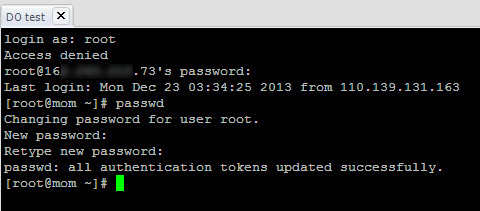
Step 1 – First, login to your server’s shell via SSH as root, as always, for this task I use putty.
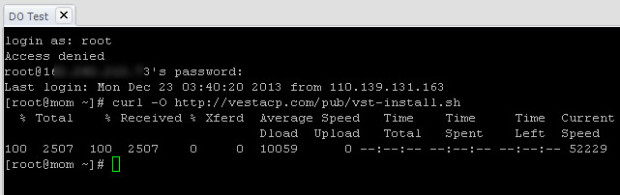
Step 2 – Next, download VestaCP installation script using curl command:
curl -O http://vestacp.com/pub/vst-install.sh
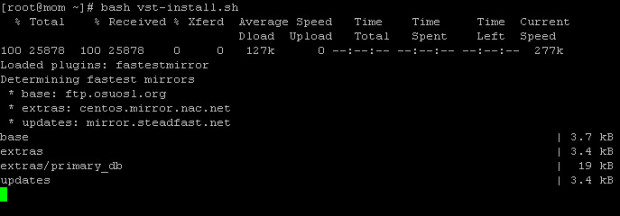
Step 3 – Next, issue this magic command to start installing VestaCP:
bash vst-install.sh
Step 4 – The installer asks to confirm disabling SELinux and start the install process. Type Y and hit Enter.
Step 5 – The installer also asks to enter valid email address. So type your valid email address and double-check it to make sure your email is correct because VestaCP will also send your admin password there.

Step 6 – Once you hit Enter on your keyboard, the installer starts. Sit tight and wait for the installerto process and finish its job.
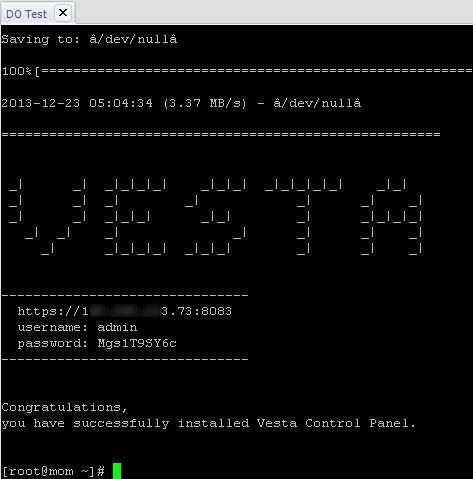
Step 7 – As long as you found no fatal error, the installer should finish quicker and you will see something like this on your screen:
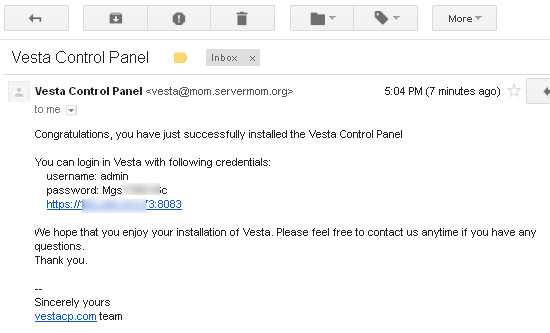
You can also check your mailbox just to ensure the password is delivered and mail server (Exim) works properly on your server.
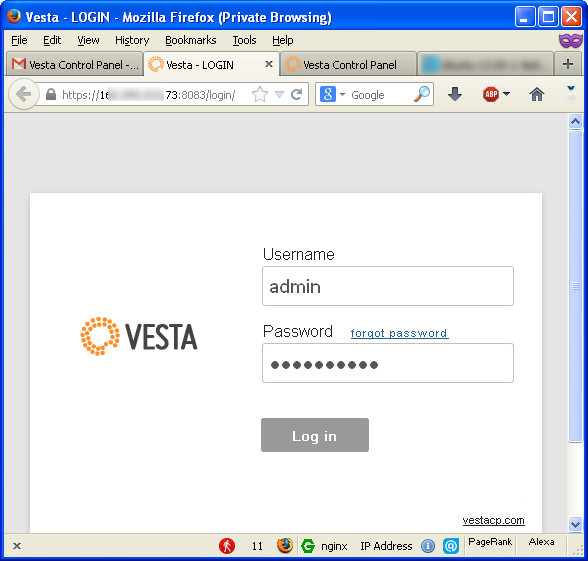
Step 8 – Now open up your favorite browser and login to VestaCP web-based UI using your VPS IP at port 8083.
https://xxx.xxx.xxx.xxx:2083/
Login as admin and use given password,
As you may also aware that the link is https:// which means via secure connection (SSL) so you may have to add / confirm exception on your browser.
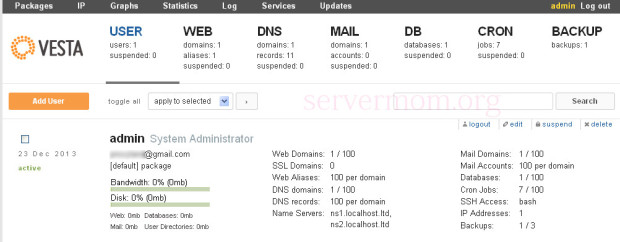
Voila! You should now see the main UI of Vesta hosting control panel.
 *click on image to view larger size.
Congratulation! You now have Vesta CP installed and a ready-to-use VPS to host all your websites.